Welcome!

Thank you for stopping by! Here you will find a variety of things as I post whatever happens to be going on in our home - recipes, crafts, homeschool, birthday parties, travels, meals in muffin tins and more! I'd love to know what you think so please feel free to leave comments!

Friday, August 19, 2011

Making Homemade Butter

Since we made the switch to raw milk, I have also started making homemade butter from the lovely cream that rises to the top of our fresh milk. I admit, I was a bit nervous about making homemade butter - it seemed like it would be a lot of work. But, I figured that it was sort of silly to be drinking raw milk and still be buying pasteurized butter from the grocery store, so I decided to go for it. The first time I made it, I used my stick blender and it worked quite nicely. I only used a pint of cream the first time. It made a nice little ball of very tasty butter. The second time I made it, I also used the stick blender but it seemed that the stick blender wasn't too happy about being used for so long and it got a bit hot. I decided that I needed to find a new method of making my butter for next time. I remember reading someplace that you can use an ice cream maker but the ice cream make is a bit of a pain to drag out and set up. I also read you can use a stand mixer. So that is what I did. It came out perfectly! The big bonus is that I didn't have to stand there the entire time, holding a stick blender! After making butter the first time, I realized that while it does take a wee bit of time - maybe 20 to 30 minutes - it really isn't all that hard to do. Plus, it is so worth it because the butter tastes amazing. And now that I know I can use my KitchenAid mixer, it got even easier.

How to Make Homemade Butter from Raw Milk

1. Collect the cream. I try to skim about half the cream off my jars of milk the morning after we bring them home.The farm fills my half gallon mason jars from their large tank so it's mixed up when we first bring it home. Leaving it sit overnight gives it plenty of time to separate. I get about a quart of cream from 3 gallons of milk.  (*Note: Many states don't allow the sales of raw milk but that doesn't mean you can't easily make butter. Just use a carton of heavy cream from the grocery store.)

 You can easily see the cream floating atop the milk.

2. Clabber the cream. Clabber? Yeah, I had no idea what this meant the first time I read it. It means to let it sour. To do this, I let my jar of cream sit out on the counter for a good 24 hours. Some places suggest more time, but I will admit it, the very idea makes me nervous. In fact, my first batch of butter was made from fresh, sweet, unclabbered cream. After sitting out for 24 hours (give or take a few hours), I put it in the fridge for a day or two. When I take it out, it is nice and thick and smells a bit sour. At this point, you can use it as sour cream. I haven't done that yet. 

 My clabbering cream.

3. Beat that clabbered cream! I put the cream into the bowl of my KitchenAid mixer with the flat beater attachment and slowly bring it up to about half speed - 5 or even 6. The cream goes through several stages which are neat to watch. To really get an idea of what each stage looks like, click the picture. Then hit the back button to come back here.

I start mine as soured cream, so it's already thick and creamy. If you start with fresh cream, the first change will be to this sour cream consistency.


 Next, it will get a bit thicker. This stage reminds me a little of that non-dairy dessert topping - a thin but smooth textured whipped cream.


A bit thicker still - this is a soft peak stage.


Now it's nice and fluffy! Stiff peaks will form. You need to start scraping down the bowl a little at this point.


A couple minutes more and it starts to break down and look a little lumpy.


Then it gets really wet looking and grainy.


Then, almost suddenly, bam! Butter & buttermilk appear! You will want to turn the mixer down at this point (maybe a little before) or you and everything around the mixer will get a buttermilk shower.


After it separates, I let it go a little longer to allow the butter grains to come together into larger lumps.


I remove the large lumps of butter to a bowl and  pour the buttermilk into a jar (through a small strainer to catch any butter grains that didn't stick to the larger ball).


And I am left with a nice lump of fresh butter. But it's not quite done.
4. Wash that butter! Yep, wash it. It still has quite a bit of buttermilk in it and that needs to come out before you are finished because the buttermilk might cause the butter to spoil quicker. I take a couple of rubber spatulas and squeeze smaller amounts of butter between them, rinsing in cold running water or a bowl of ice water as I go. I could go out and buy some nice wooden butter paddles, but they're kind of expensive and my spatulas work just fine. I didn't take any pictures of this step because my hands get kind of buttery and I didn't want to butter up my camera.

Once all the butter is clear of buttermilk, I salt it (just a wee bit) and form it into a round cake and put it into the fridge. That's it! Easy, right?

Fresh butter!

I really can't stress enough how wonderful this tastes. It adds such a lovely flavor when spread on pancakes and toast. I haven't baked with it yet because we use it up so fast on everything else. We stopped using margarine ages ago and have been using "real" butter for everything for a while. I am amazed at how much better this tastes. As an added bonus, I have buttermilk that I can use to make pancakes or biscuits.

Now, if you put the health benefits of drinking & eating raw dairy products aside, the best part about this is the cost. I am most fortunate to be able to buy raw milk for $2.50 per gallon. Each week, I buy 3 gallons at a cost of $7.50. From that 3 gallons, I get about 2 1/2 gallons of milk to drink, a pound of butter, 16 oz of buttermilk and 32 oz of yogurt. If you bought that same amount of organic dairy product in the grocery store, you would probably be spending real close to $30, if not more than that. Sure, making our own dairy products from fresh raw milk takes a little bit of time, but if you figure out the savings over the course of a year, we are looking at almost $1200! I don't know about you, but that's huge for us! I know that not everyone is able to get pasture fed, raw milk for such an awesome price, but that's where you figure in the health benefits of raw dairy and realize that even at a higher cost, it's totally worth it!

Shared on:
Tip 
Junkie handmade projects

Tuesday, August 16, 2011

Summer Fun Sensory Tub

In these final days of summer vacation, I decided to put together a summer fun sensory tub for the kiddos to play with as a last blast of summer. The days are getting shorter and the nights are getting cooler, but summer can live on inside our sensory tub.

I set the tub out on a brightly colored vinyl tablecloth for easy cleanup and as a bonus, it looks pretty. I also put out a cute mini metal bucket, plastic shovel and the flip flop boxes that I painted earlier this summer.

The tub contains: brown rice sand, decorative glass marbles as water, little wooden people, paper umbrellas, chenille stem seaweed, mini koosh balls & magic nuudles as water toys, a wood connector as a boogie board, seashells from our Florida trip last year, grape vine driftwood and a grapevine ball.


Laural and Micah were both instantly in love and wasted no time digging into it.

The only downside to these tubs is that I will need to schedule time for each of them to have a chance to play alone because otherwise, the newness of it makes them each want to have it all to themselves and that leads to unpleasant noises and a grumpy mommy.

Friday, August 12, 2011

Gluten Free Zucchini Brownies

These are some of the best brownies I've ever had. They are so moist & fudgy & chocolatey! Just writing about them makes me want to go downstairs and grab one (or two!) out of the freezer. I got this recipe from Gluten Free Goddess and made a couple changes to suit our needs and ingredients on hand. 


1 cup almond meal*
1 cup organic sugar  
3/4 cup brown rice flour**
1/2 cup unsweetened organic cocoa powder  
1 teaspoon guar gum (or use xanthan gum)
1/2 teaspoon baking powder  
3/4 teaspoon sea salt  
2 organic free-range eggs, beaten  
1/4 cup organic coconut oil  
1 tablespoon vanilla extract  
1 cup packed shredded zucchini, patted dry  
1 cup chocolate chips

Preheat oven to 350°F and line the bottom of a 9x9 pan with parchment paper.

In a large bowl bowl, mix together the almond meal, sugar, rice flour, cocoa powder, guar gum, baking powder & salt. Add in the eggs, coconut oil & vanilla. This will be a thick mixture. Add the zucchini & chocolate chips and mix well. Scoop batter into prepared pan and spread evenly. Bake for 25 minutes in order to get that really fudgy texture. Cool on a rack until cool enough to handle. Use a sharp knife to loosen edges and carefully remove from pan to finish cooling. Cut into 16 squares. These freeze wonderfully.

*Note:  I make my own almond meal using this method: Place 4 cups of almonds in a bowl or half gallon mason jar. Add water to cover almonds and then some. They expand while they soak and you don't want them to be out of the water. Add 2 tablespoons of sea salt. Allow to soak 7 hours or overnight. Drain & rinse. Dry nuts 12 to 24 hours in a dehydrator or in your oven at 150°F. Once completely dry, place almonds in a blender (I use a magic bullet) about a cup at a time and pulse them into a fine meal. Do not do this for too long or you will end up with almond butter. Remove any large pieces of almonds and put them in to pulse again with the next batch. It's a bit of a long process but a lot cheaper. This makes about 3  to 3 1/2 cups of almond meal at a cost of around $4. Bob's Red Mill Almond meal is $9.42 at my local Walmart for what looks like less than my batch made.

**Note: I make my own brown rice flour by grinding the rice in an electric grain mill on the finest setting. It works perfectly. Prepackaged brown rice flour isn't super expensive but this way is even cheaper.


These are wonderful with a tall glass of ice cold, farm fresh raw milk. Even my super picky, 3 year old little boy scarfed these right down and didn't even notice the zucchini. My 6 year old daughter knew the zucchini was in there and gave me the "wrinkled up nose look" but once she took a bite, she was sold. I think the biggest problem I will have with these is keeping them around long enough to save some for later.

Monday, August 8, 2011

I Love These Garden Days

Since my garden is finally starting to give me goodies, I decided to have another salad for dinner tonight.

Tonight's salad was lettuce, snap peas & parsley - all from my garden, organic carrots, cheddar cheese, a slice of bacon leftover from breakfast, leftover roast that I shredded and mushrooms sauteed in bacon fat. SO yummy, though not quite as fantastic as yesterday's chicken salad.

Since I've been talking (typing) so much about my garden lately, I figured it was time to write a quick update on it. Parts of it have done remarkably well and other parts, eh, not so well.
The side bed, against the house has done beautifully. I was certain that the lettuce wasn't going to make it because that darn stray cat kept digging in there and doing it's business. Grr. He managed to move all the seed to a somewhat concentrated area so the lettuce is in a big patch rather than the rows I planted it in. At least it grew. Behind the lettuce is my potato patch. The plants closest to the lettuce are purple potatoes and behind them are yellow potatoes. They are growing like weeds! I'm thinking about digging in there a little to see if I can find any fingerling potatoes. They're my favorites.

The other end of the side bed has a red variety of lettuce which is also doing well despite the cats endeavors to destroy the garden. On the right are watermelon plants. No sign of flowering on them yet, but I'm still hopeful. We should still have a good month of heat left to give them a chance.

The crib rail trellis for the snap peas has been wonderful! The snap peas have been giving us loads of peas which makes me & Laural quite happy. Sadly, one of the vines broke shortly after putting the trellis up. It is the sad looking light green and brown one on the right. I keep hoping it will make a comeback. We shall see.

My peppers never really took off. So far, we've had one pepper and it was a little funky looking.


Laural didn't mind. She was super thrilled to be eating something that she loves and that she got to help plant. I saw a flower on another plant while I was taking pics, so we might just get a second pepper before the season is over.

The purple beans have been doing wonderfully! We have been able to pick bunches of them and there are plenty more coming. The green beans in the front never made a huge comeback from the bean leaf beetles, though we have had a couple dinners worth.

My zucchini plants have finally kicked in! In the past couple days they have more than doubled in size. There are several flowers and baby zucchini on this plant. 

See that wee zucchini in there? Yay! There are a couple others in there too but not seen in this particular angle.

I had one lone cucumber plant survive whatever it was causing them to die off. It has a few flowers but no signs of baby cucumbers. I'm hopeful, but not holding my breath.

The broccoli & peppers in this bed are pretty pathetic. The broccoli in the middle was looking better until the cat came back and dug the entire middle area out a few nights ago. What wasn't destroyed by the cat appears to be getting eaten by something. There are a couple plants on the right that might still produce for me, but I'm not getting my hopes up. The peppers seem to be getting stripped by something as well. I think one of the main problems with this bed is just not enough sunlight. I need to find a more shade loving plant for that bed for next year.

So that's what has been happening in my garden. I'm not getting a great deal out of it, but I sure am enjoying what we get. Goodnight garden. Goodnight moon. Goodnight friends.

Sunday, August 7, 2011

Chicken Salad Supreme

Steve and I used to love going to a local diner for their chicken salad supreme.It was a ginormous salad made with iceberg lettuce, tomatoes, green peppers, onions, cucumbers, mozzarella & cheddar cheese, bacon, curly fries, boiled eggs & chicken. Over the years, the salads got smaller & the price got higher. Once having kids (especially once they were old enough to start wanting their own meals from the kiddie menu), it just got too expensive to go out for chicken salads plus, a pile of iceberg lettuce isn't exactly a nutritional dynamo. So we started making our own salads at home. I usually use spring mix salad in a bag but tonight, I used lettuce picked from my own organic garden that I picked right before dinner. With other fresh veggies from my garden, this was easily the best chicken salad supreme I've ever made!


Starting from the top middle and going clockwise, our chicken salads consisted of: Cucumbers from my parent's garden, organic green & red lettuce from my garden, cheddar cheese (yes, I put a little much on there... lol), grilled chicken breast, sauteed purple potatoes, boiled egg, organic snap peas, green beans & purple beans from my garden with some sauteed white potatoes in the middle. I topped it with my favorite french dressing (store bought this time but I usually make my own and will continue to do so once I use up all the store bought). If I wasn't so full already, I'd have no problem eating more!

Thursday, July 28, 2011

Zucchini Rice Casserole


Ingredients:

2 c. zucchini, unpeeled and finely chopped or shredded
1 small onion, finely chopped
2 c. cooked brown rice
3 eggs, lightly beaten
1/2 c sour cream
1/2 to 1 c shredded cheddar cheese (I like to go heavy on the cheese)
1/2 c Parmesan cheese + 2 to 3 Tbsp. for sprinkling
Salt, as desired

How to:

Mix rice & egg in a large bowl. Add zucchini & onion. Mix well. Add sour cream & cheeses & salt, if desired. Mix well. Spread into an 8"x8" pan or 2 quart casserole dish. Sprinkle top with additional Parmesan cheese. Bake uncovered at 350°F for about 1 hour or until top is golden brown and it is set in the middle.

*Notes: If desired, you can break down the zucchini ahead of time by cooking it and the onion with a cup of chicken stock in a pot on a medium flame for about 20 to 30 minutes. This will soften the zucchini & onion a lot making it easier to pass the picky eater test. If you do this, double the amount of zucchini and onion, chop it more coarsely and drain very well before adding to the rest of the ingredients.

Before changing to a gluten free diet, I would add 1/2 c. of Italian flavored bread crumbs to help thicken it up a little but I don't really find it necessary as the eggs hold it together nicely.

This goes great with baked fishes, especially salmon. I usually round out the meal with steamed green beans (smothered in butter!).

Thursday, July 21, 2011

Keeping Cool and Odds & Ends

We don't have air conditioning. It's been over 90°F for the past several days with wicked high humidity. That means there is just one sure way to cool off.

Yep, the hose! Laural & Micah have been having a ball playing in the sprinkler.

I think I might join them tomorrow since it's supposed to be another 90's kind of day.

We've had a lot going on here lately. We finally found a source for raw milk and got 3 gallons on Saturday. Besides drinking the yummy goodness, yesterday, I used some of the cream I skimmed off it to make home made butter. It's different but super yummy. I only used a pint of cream so I didn't get a whole lot of butter but it should be enough for about a week.

We've also begun in the process of eliminating certain things from our diet. The two biggies are gluten & soy. So far it isn't too bad but we are totally bread people so the gluten free bread is going to take some getting used to. So far, I've made a loaf of bread which turned out okay but not great and pancakes. The pancakes were really, really awesome! After the kids and I had eaten our fill, I cooked the rest of the batch to put in the fridge for later. They lost a lot in the texture and flavor after cooling & reheating but butter and syrup kind of covered that over. I think I'll cut the recipe in half next time or maybe I will just keep the batter uncooked in the fridge and see how that works when they are cooked up later.

Finally, my garden has been starting produce a few more yummy goodies for us. My cucumbers, zucchini & broccoli are still pretty questionable, probably thanks to the cat that keeps using it for it's litter box, but the other garden bed is coming along pretty nicely.
Today, I picked this nice handful of purple beans and sugar snap peas. We had more snap peas than that but a bunch got eaten already. Laural and I love them! 

We had an uninvited visitor come in with the beans though...
One of the bean leaf beetles that have been chewing on my plants since day one. They nearly killed my green beans but they managed to survive and are still giving me a a few beans. This little guy got to live just long enough to have his picture snapped. I think a little Neem oil is going to find it's way to the garden tomorrow.

This is a little bit of how our week has gone so far. I've got big plans for tomorrow too! Homemade yogurt from raw milk and another try at gluten free bread. Wish me luck!

Wednesday, July 13, 2011

So what do I do with...

...something that has been recalled by the company that made it AND has recently been deemed so bad that it the government actually made it illegal to sell one of these. I am, of course, talking about my children's crib. The very crib that I nestled both of my children into every night for years is now pretty much an expensive dust collector because it has a drop side on it. I had hoped to be able to sell the crib at some point so I paid a visit to the company's website, looking for information on the conversion kits that I heard were available. It was then that I found out that our particular crib has been recalled due to the chance of the slats on the side rails breaking too easily. So now, I have an expensive piece of garbage.

Since switching my son over to a "big boy bed," the dismantled crib has been residing in my upstairs hallway. I was thinking of putting it a yard sale until I learned of the recall. For the past couple months, I've been looking at it, with some sadness actually, trying to decide what I should do with it - put it out with the trash? Burn it? Save it and take my chances with a recalled crib if we should ever have another child? Well, I decided that I didn't want to take any chances. Both my kids were pretty mellow and not too rough on the crib, but even so, I did notice a crack along the length of one of the slats. If we did have a kid who happened to be a bruiser, it could be disastrous. I also haven't been able to simply discard it either. There is an emotional attachment but also, it seems like such a waste to just throw it away or burn it. So, I've left it in the hallway, taking up precious space, trying to bring myself to do something with it. 

Today, I finally did something with it - well part of it. 

I removed two slats on one end of each side rail and then stuck those ends in the ground, leaning them against each other. I tied them together at the top. And there you have it - recycling; reusing; repurposing part of our recalled and illegal crib as a trellis for my very vigorously growing snap peas. I am going to have to train them through some of the slats but I think it will work out quite nicely. I have a neat idea for using the ends of the crib too but that will have to wait for another post!


Shared on:
Tip 
Junkie handmade projects

Sunday, July 10, 2011

My Organic Garden

I have been wanting to have a garden for ages now. For some reason or another, I just haven't been able to get a garden started over the past several years - until this year! I am quite pleased to have been able to build two 4'x8' raised beds and have repurposed the existing 4'x12' flower bed. I decided that I wanted to have an organic garden this year, so all the seeds are organic and I am using organic fertilizer and organic pest control measures as needed. While most of my plants are doing quite well, I am having a few issues with the plants in one of the garden beds.

Bed 1 - 4'x12'  Planted on June 29
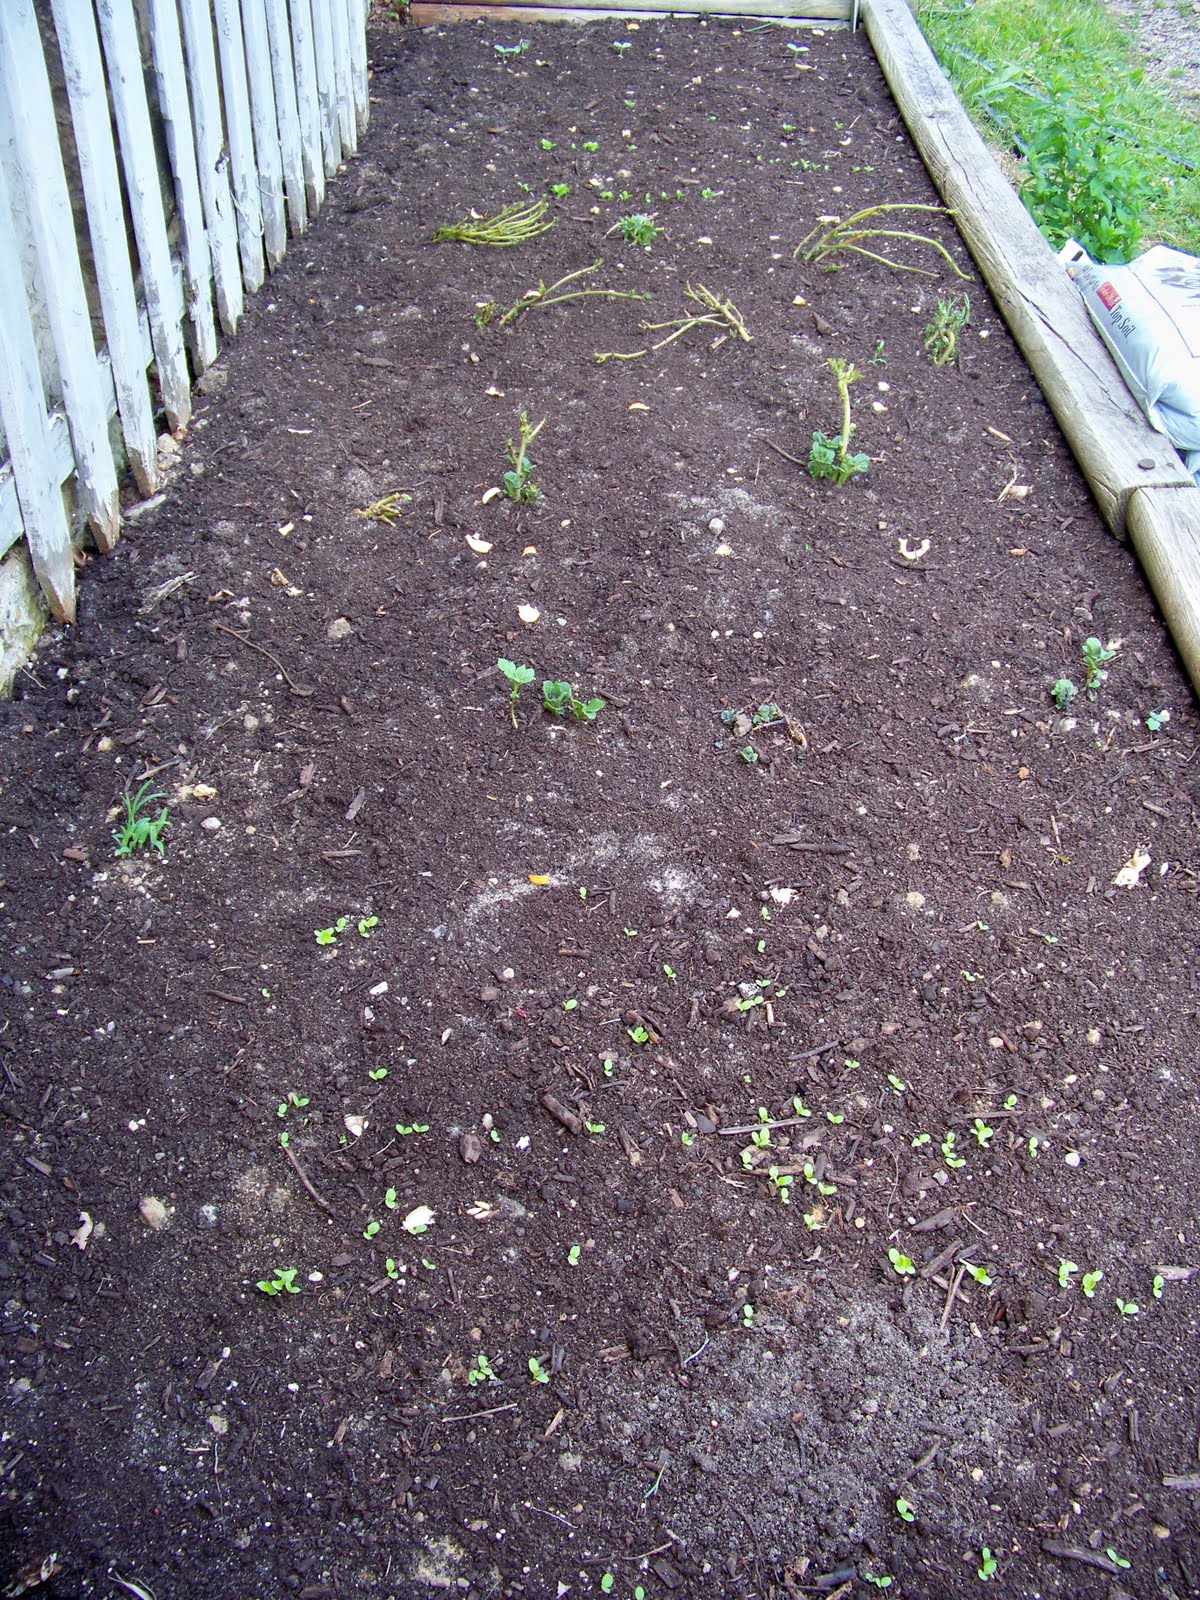
I planted this one a little later than I had planned. June became quite a busy month for us, so the garden was put on the back burner for a bit. In this bed I have green head lettuce (something similar to bibb lettuce but I can't recall the variety and I'm too lazy to go downstairs to find the packet right now), purple potatoes, white potatoes, red head lettuce (see parentheses above for green lettuce) and some watermelon plants down n the very end.

These are the purple potatoes - looking good!

White potatoes.

Bed #2 - 4'x8' Planted the week of May 23rd
It has sugar snap peas, bell peppers in a variety of colors, purple beans and green beans. My poor green beans took some serious damage early on from bean leaf beetles. I haven't been sure if they were going to survive but they are really starting to get a lot of new leaf growth and some new flowers. I initially got a tiny harvest of about 20 beans from them so it looks like they aren't giving in to the beetles! The purple beans have tons of flowers on them so I can't wait to get some yummy beans from them. The snap peas have a few beans and a lot more flowers coming out now. I think I need to rethink my support for the pea plants though. I also noticed a few flower buds starting on one of my pepper plants! Laural is most excited about this because peppers are her favorite veggie. The neat thing about these peppers is that the seeds all came mixed together so the color of peppers on each of the plants will be a surprise.

Our budding pepper plant and Laural's head excitedly checking out her future peppers.

Bed #3 - 4'x8'  Planted June 9th
This is my sad and pathetic looking garden bed. I'm honestly not sure what is going on with it. It has cucumbers, a couple leftover pepper plants, broccoli, and zucchini. The cucumbers are the worst looking of the bunch. They are barely growing and the stems look like something has stripped it. The plants have flowers on them but they seem to die and fall off before anything happens. I've been doing some reading but I can't figure out what to do to make them better. I guess it's watch and see for now. The pepper plants are healthy looking but staying small. The broccoli seem to be growing well for now. I need to thin them out a little now but I am so paranoid that I will manage to leave behind the worst plants and end up with no broccoli. The zucchini seem to change on a daily basis. One day they are looking great and I am feeling optimistic about them. The next day they look pathetic. For some reason, I thought the zucchini and cucumbers were going to be the no-brainer plants in my garden but they are giving me the hardest time.

My pathetic cucumbers.

 An up close pic of the cucumber stems. They are splitting open length-wise and the leaves are yellowing and dying. I can't seem to find any information on what could be causing this. Anyone have any idea? I welcome any thoughts, ideas & suggestions. I expect them to all be pretty much dead within a few days. I am expecting to have to pull them all out. I don't know if I have enough time to plant new seeds and still get a crop by the end of the season.

The zucchini which is looking half decent today. It has some flower buds but I so far, all my zucchini flowers seem to come up missing shortly after opening so I really don't have high hopes for them right now.

Bed #4 - 4'x8'  Never planted and currently a weedy, brambly mess.
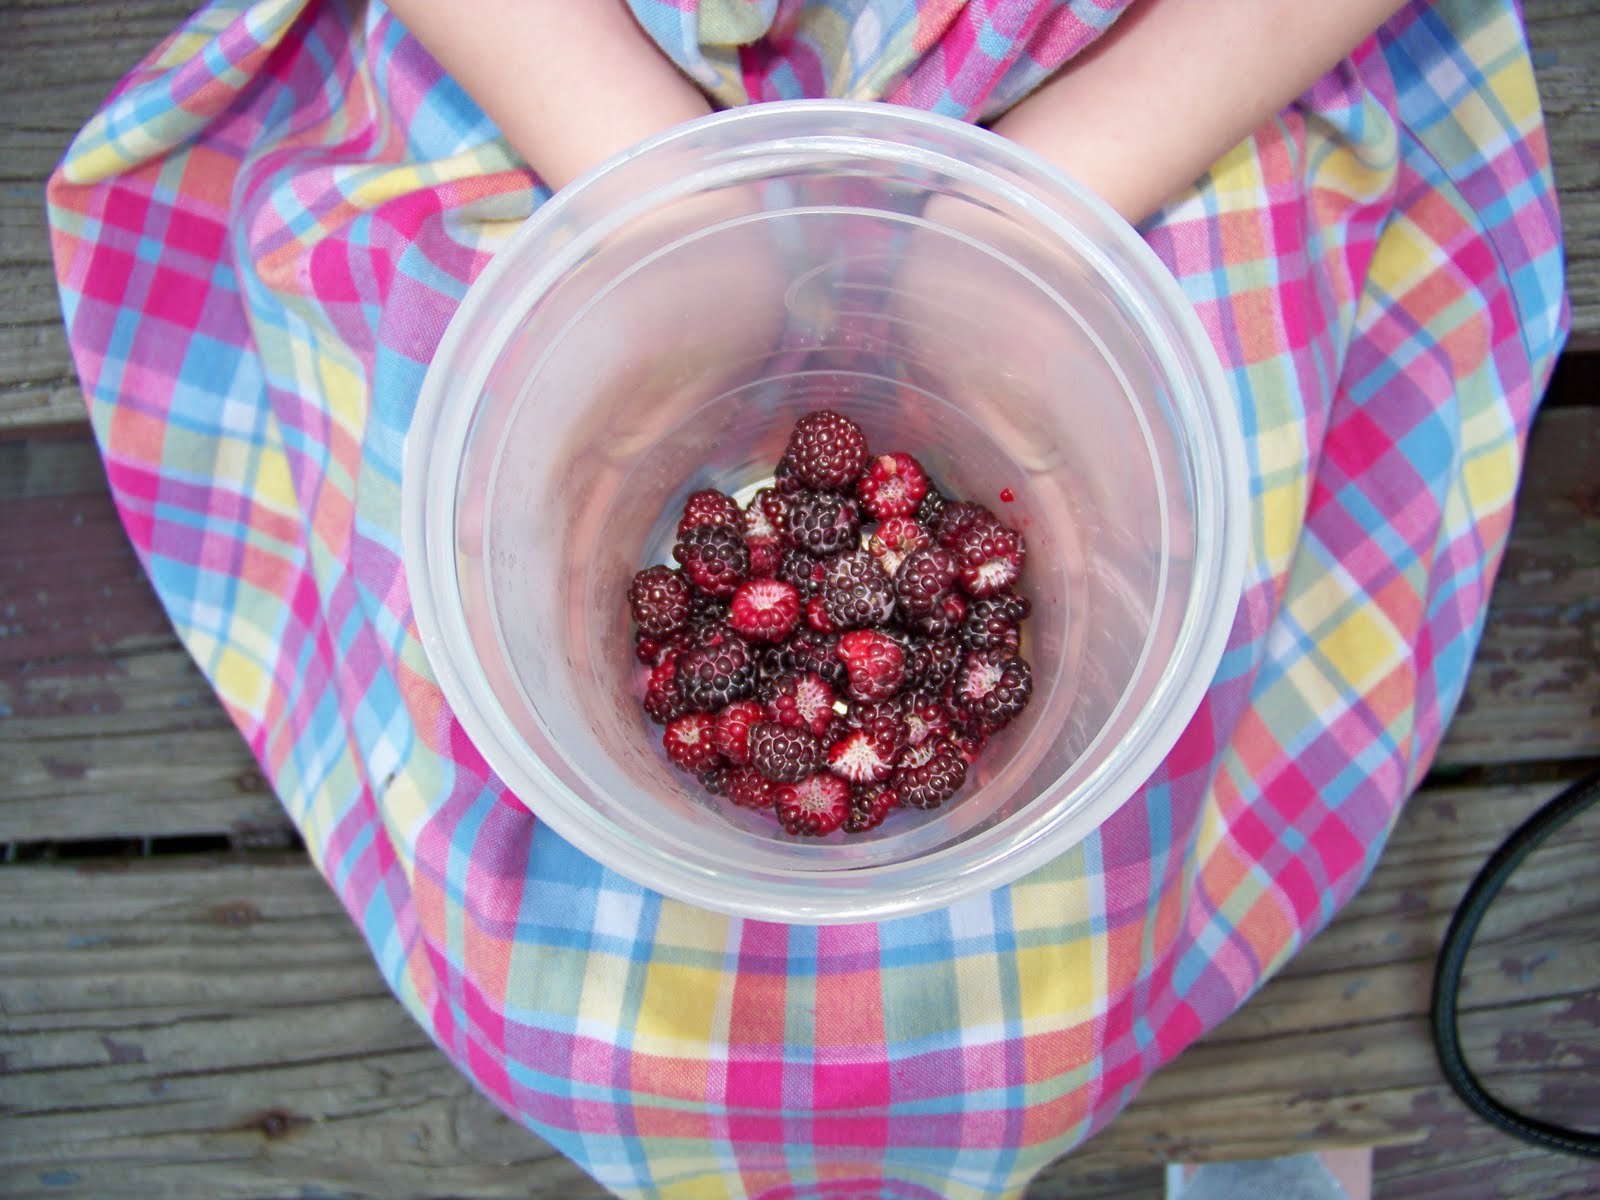
A large blackberry bush is at the center of this garden bed. There is also a small quaking aspen (I think) that shot up quickly over the past couple years in this bed. This is the bed that the Kids' Enchanted Garden is against. I had planned to clear everything out of this bed except the tree and plant carrots and beets in it but when I saw how many potential berries we were going to have, I let it be. I plant to prune back the bush this fall and relocate it so we can use the bed for veggies. An interesting fact is that this bush magically found it's way to this garden bed. When we moved here, the bed had several different flowers & decorative plants in it. We pretty much neglected the flower bed, letting them become a haven for weeds and grasses. The tree and blackberry bush were not there when we moved in. We are guessing that a bird may have deposited the blackberry seed in the bed. Possibly the same scenario with the tree as well since we don't appear to have any other aspen trees nearby. Not sure if we are going to let the tree continue or not.

Yummy!

Laural holding our daily berry harvest. The kids tend to pick them just a hair early sometimes.

Bed #5 Not really a garden bed, it's a planter. Planted week of May 23.

This is an upside down, elevated tomato planter that we bought a couple years ago. We bought organic tomato plants but they didn't do very well. They grew nice and long but we only ever got one flower and it died without producing fruit. This year, I gave up on the upside down planting and used the top to plant some garlic chives and parsley. I already used some of the garlic chives, from thinning them, on a baked potato last week. Super yummy!

I also have a few plants in pots on my porch steps and a couple things that I am going to try to squeeze into the planting season and hope it's not too late. I'll be getting pics of them in the next few days.

Overall, I am quite happy and excited about my garden. I hope that the sad looking plants will perk up soon and produce for me but even if they don't, I am happy that I have been able to get so much accomplished with it this year. Even if we get just a handful of fruit & veggies, it will be a success to be partially self-reliant and we will save a little by not having to spend money for high priced organic produce from the grocery store. Not only that, but I will know exactly how the food was grown and what went into and onto it!

LinkWithin

Related Posts with Thumbnails